|
Hi! This is the 4th clue of this MCAL. I really hope you all enjoy it! Here it comes. Click Read More to... um, read more! :D See on salaheegeldamise 4. vihje. Loodan, et naudite seda! Siit see tuleb! Edasi lugemiseks kliki "Read More". 4th clue This clue is different than others, there are some new abbreviations. Dc.inc: *dc, ch 1, dc* into the same st. Note: do not confuse it with the usual inc done with 2 sc’s. B: Bobble st. Make a dc in the next st but don’t do the last pull through and leave the loop on your hook. Make another dc in the same stitch without the last step and leave the loop on your hook. Make two more almost finished dc’s in the same stitch (you have 5 loops on hook). Now, yo and pull through all 5 loops on your hook. The wings are made with a yarn a bit thinner, the crocheting together and edges are made with a slightly thicker yarn. All wing details are crocheted through the back loops and made back & forth. The wings are made with yarn B and the crocheting together with yarn C. NB: The wings are double-thickness, this means you have to do both sides of the wings twice. Later, you will crochet two mirror-sided wing parts together. A half of the wing (make 2) Row 1: Ch 6. Inc in the 2nd ch from hook, sc 3, inc. Row 2: ch 1, inc, sc 5, inc. Row 3: ch 1, inc, sc 7, inc. Row 4: ch 1, inc, sc 9, inc. Row 5: ch 3, dc.inc, dc 11, dc.inc. Row 6: ch 3, *B, sc* 8 times, sc. Row 7: ch 1, sc 17. Row 8: ch 3, dc.inc, dc 15, dc.inc. Row 9: ch 3, dc 7, hdc 3, sc 11. Row 10: ch 3, dc 3, hdc 2, sc 2, sl st 2, sc 2, hdc 2, dc 8. Row 11: ch 3, dc 5, hdc 2, sc 3, sl st 2, sc 3, hdc 2, dc 4. Fasten off. The other side of the wing (make 2) The first 8 rows are exactly the same as on the 1st side. Row 9: ch 1, sc 10, hdc 3, dc 8. Row 10: ch 3, dc 7, hdc 2, sc 2, sl st 2, sc 2, hdc 2, dc 4. Row 11: ch 3, dc 3, hdc 2, sc 3, sl st 2, sc 3, hdc 2, dc 6. Fasten off. Now take 2 different (mirror-sided) sides and sc them together with a darker yarn. In every corner, increase 2. Use sc on the sides, but when joining the 11. rows, use dc’s and hdc’s on the „higher“ places, according to the shape of the wing. Sew the wing on the body and a part of the head. You can stiffen the wings with starch or a stiffening spray, if you feel like you need it. I didn’t, because I used stiff cotton yarn and a hook 1.5 and 2.5 times smaller than the one suggested on the label. When sewing on the wings, use an area as big as possible, then they are stronger. Dots on the wings are suggested, but there is no rule you cannot decorate the wings with beads, felt or ribbons. You can make her antennaes with pipe cleaners, but fold the ends in order to make them safe! Sew the top on the body. Attach the arms to the body and if you wish, stitch them to the body at a lower place too to make them stay in place. Add the legs and some roving hair. I tied the hair on one side:) Congrats, your butterfly is ready! 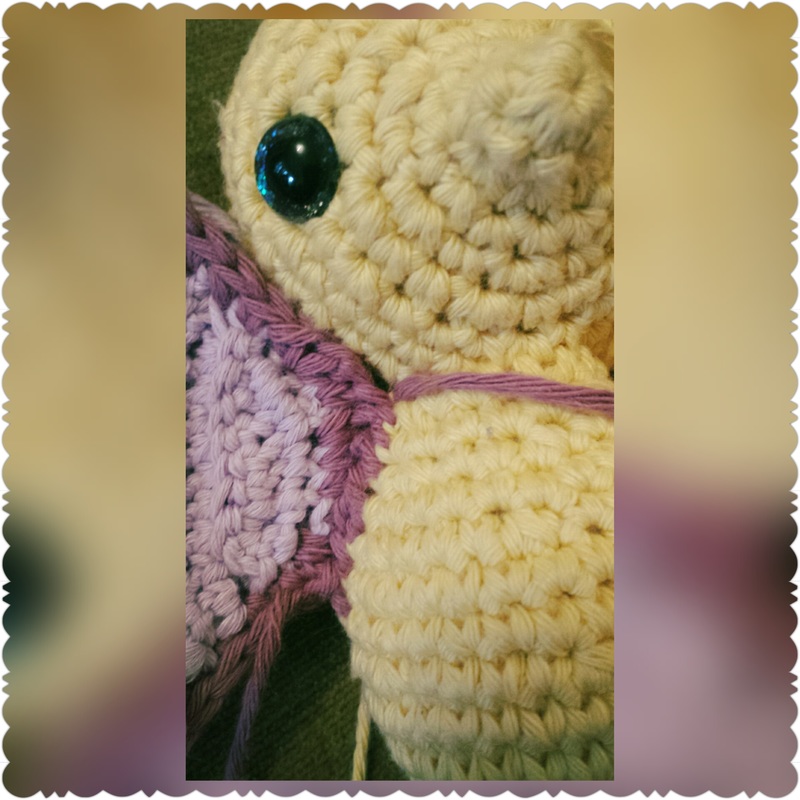 This picture is about adding the wing to the body. From there you should CONTINUE SEWING on the HEAD too in order to make it more durable! See pilt näitab, kuidas kinnitada tiiba keha külge. Sealt edasi tuleb JÄTKATA ÕMBLEMIST ka pea külge, et muuta tiiba tugevamaks! 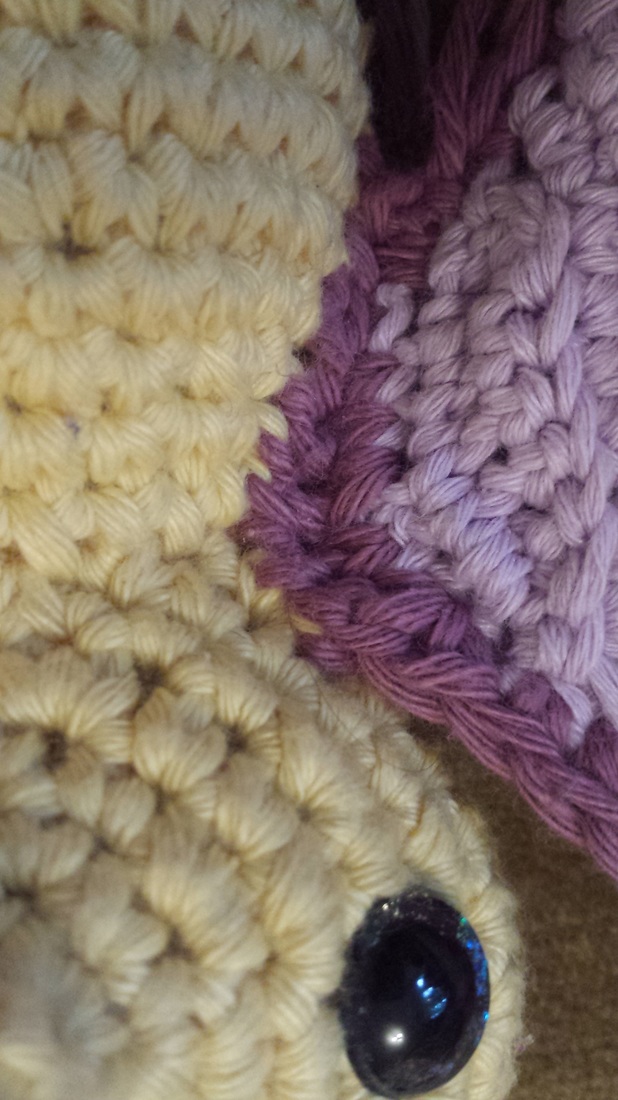 Sewing. Õmblemine. 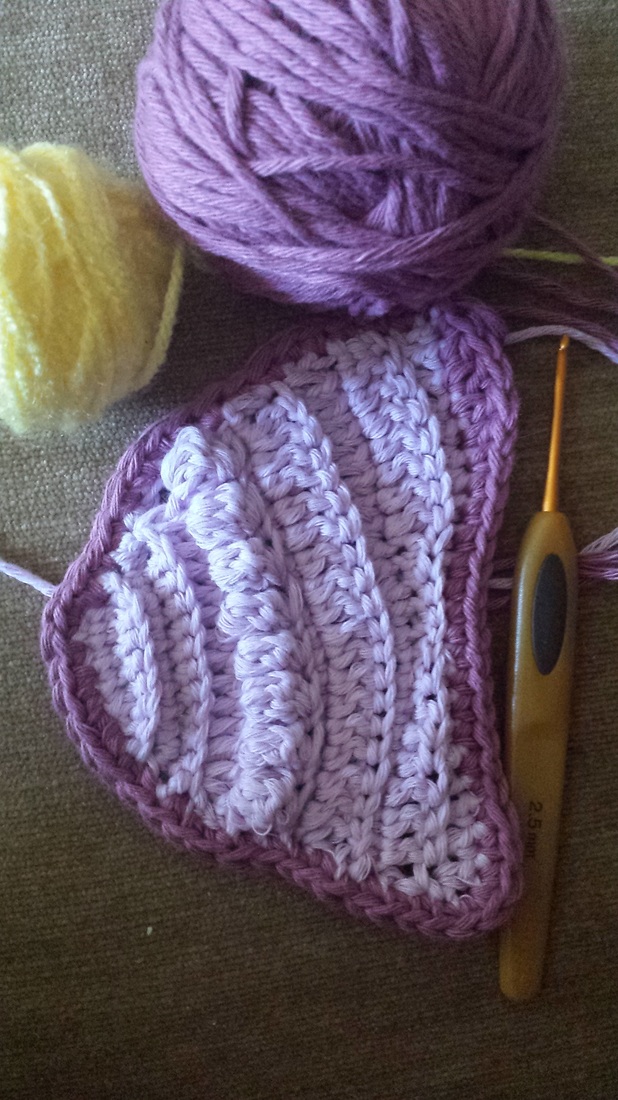 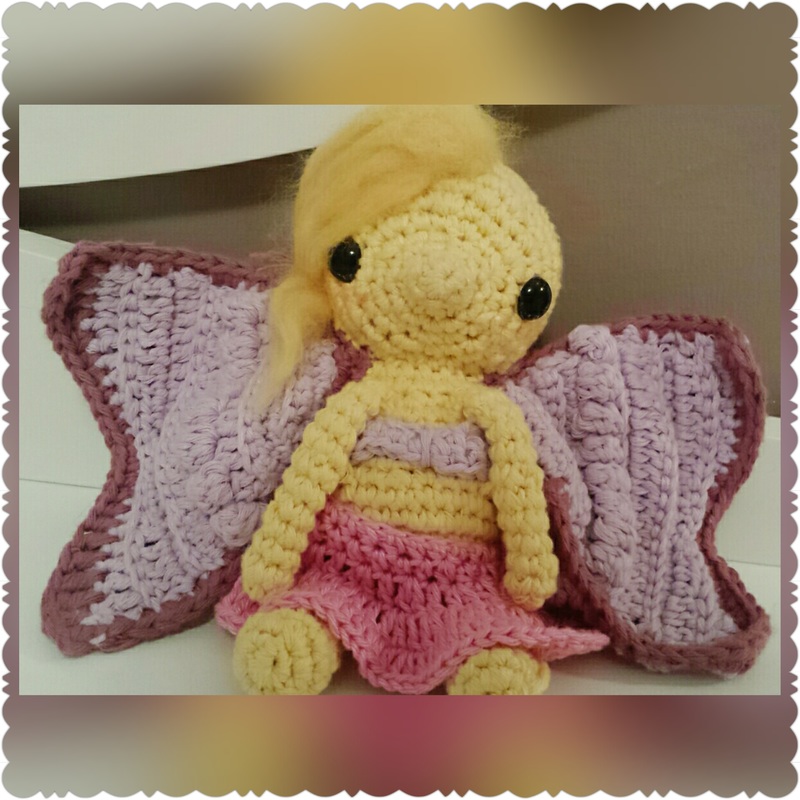 Eesti keeles 4. vihje
See vihje on eelmistest erinev. Mängu tulevad ka mõned uued terminid. Sm.kasv: *sm, 1 ah, sm* samasse silmusesse N: nupp. Alusta silmusesse sm heegeldamist, aga ära tee kõige viimast tõmmet. Selle asemel jäta see poolikuks ja tee samasse silmusesse veel 1 poolik sm. Ja samasse silmusesse veel 2 sm (5 aasa heegelnõelal). Lõpuks tõmba lõng kõigist viiest aasast heegelnõelal läbi. Tiib heegeldatakse natuke peenemast lõngast, tiiva äär veidi paksemast. Kõik tiiva read heegeldatakse läbi tagumiste aasade! Tiibade jaoks kasutatakse lõnga B, kokkuheegeldamiseks lõnga C. NB: Tiivad on kahekordsed. See tähendab, et kumbki poolt tiiba tuleb valmistada 2 tk ja hiljem peegelpildis tiivaosad kokku heegeldada! Pool tiiba
Teine pool tiiba Esimesed 8 rida on täpselt samasugused kui esimesel poolel. 9. rida: 1 ah, 10 ks, 3 psm, 8 sm. 10. rida: 3 ah, 7 sm, 2 psm, 2 ks, 2 as, 2 ks, 2 psm, 4 sm. 11. rida: 3 ah, 3 sm, 2 psm, 3 ks, 2 as, 3 ks, 2 psm, 6 sm. Nüüd võta kaks erinevat (peegelpildis) tiivapoolt ning heegelda tumedama lõngaga ring ümber kahe tiiva neid ühendades. Igas nurgas kasvata 2 silmust. Külgedel kasuta kinnissilmuseid, aga 11.ridu ühendades kasuta kõrgemate kohtade kohal oma soovile ja tundele vastavalt nii kinnissilmuseid kui ka pool- ja ühekordseid sambaid, jälgides tiiva kuju. Õmble tiib kehale ja osale peast. Tiibade parima säilimise jaoks võib neid ka tärgeldada. Mina seda ei teinud, kuna kasutasin esiteks tugevat puuvillast lõnga ja teiseks kasutasin soovitusliku 4mm ja 5mm heegelnõela asemel 2.5 mm. Tiibade külgeõmblemisel tuleb jälgida, et õmblemiseks kasutataks võimalikult suurt pinda, nii seisavad need paremini. Tiivatäpid on soovituslikud, aga kindlasti mitte kohustuslikud – dekoreerida võib helmeste, paelte või vildiga. Liblikale võib teha karvasest traadist tundlad, aga kindlasti tuleks traadiotsad enne ära painutada, et need teravad poleks. Õmble kehale topp. Õmble käed keha külge ja kinnita soovi korral ka altpoolt. Lisa jalad ja ka heiest tukake. Mina sidusin tukakese ühele poole, justkui tuulest viidud:) Palju õnne, sinu liblikas on valmis! :)
0 Comments
Leave a Reply. |
Author/AutorI am a 14-year old Estonian girl who loves to crochet, knit, felt and paint, but I also do beadwork and chalk drawings. I have made over 100 knitted/felted/crocheted animals. Besides that, I like history and books.
Welcome! Olen 14-aastane Eesti tüdruk, kes armastab heegeldada, kududa, viltida ja maalida, kuid samal ajal tegelen ma ka pärlitöö ja pastelljoonistamisega. Olen valmistanud üle 100 kootud-vilditud-heegeldatud looma. Lisaks sellele meeldivad mulle ajalugu ja raamatud. Tere tulemast minu blogi vaatama! Archives
July 2017
Kategooriad
All
|
 RSS Feed
