|
Hi!
I am so so so exited for the new MCAL! :) This time, I was asked to design an animal for the Estonian craft forum Isetegija. At first, I had various ideas, but in the end, this design seemed to be perfect. My testers have been amazing. Now, it is time for the introduction! Mystery CAL „Rosie“ This autumn, the 2nd Amigurumi MCAL takes place. And it is available in both English and Estonian! Everyone can choose the language they like! :)
3 Comments
Tere!
Sel sügisel toimub juba teine amigurumi salaheegeldamine. Ja mis on veel hea uudis - see on nii eesti kui inglise keeles! Igaüks saab valida selle keele, mis on temale sobiv! :) Mul olid väga vahvad testijad. Seekord kirjutasin mustri foorumile Isetegija. LIITU Isetegija foorumis jutustamise ja koosheegeldamisega SIIN: http://www.isetegija.net/phpBB2/viewtopic.php?t=22743 Vihjete tähtajad: Hei! See on siis pastakas dekupaažtehnikas jäätiseümbrisega. Ise tehtud, uus lemmikpastakas:) Väike jutt ka valmistamisest. Vali helebeež paber, mis on paksuselt printeripaberi ja akvarellpaberi vahepeal. Võta paber horisontaalselt ette, aseta sirkel allääre keskele ja tõmba võimalikult suur poolring. Tõmba paberi keskele joon, mis poolitab poolringi ( :D ). Keera paber ümber pastaka torbikuks (pane pastakas sinna sisse), liimi kokku ja lase kuivada. Samal ajal rebi dekupaažpaberi/salvrätiku ülemisest (pildiga) kihist välja lilli/liblikaid vms. Sega PVA liim veega, pintselda kujundid õrnalt ja kortsudeta torikule. Lase kuivada, siis laki PVA-ga üle. Täida torbik. Lõika penoplastpall pooleks, kata salvrätikuulikeste ja poroloonitükikestega. Glasuuri värvi-liimi seguga, peale pane pastellipuru ning paar armsat helmest. Valmis :) Päris mõnus on kirjutada ka. Algidee tuli ühest videost, aga muutsin väga palju. 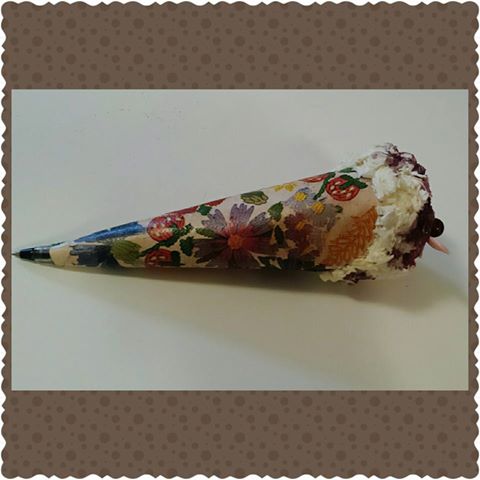 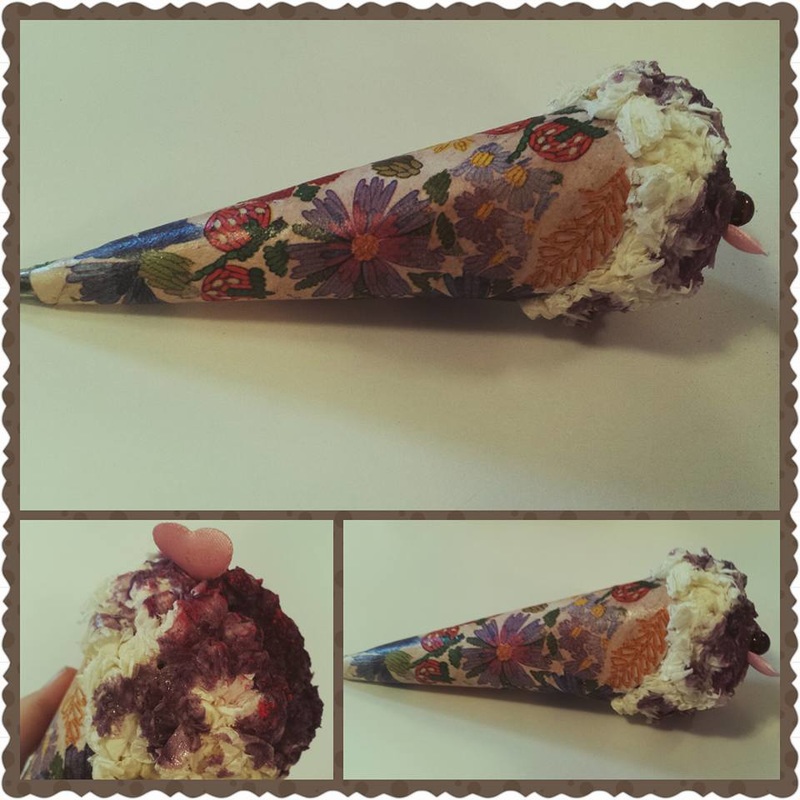 Hi! I made this ice cream pen with decoupage cone. I will write a bit of the making too. I love this new pen, it is beautiful in my opinion. Wjat do you think? :)
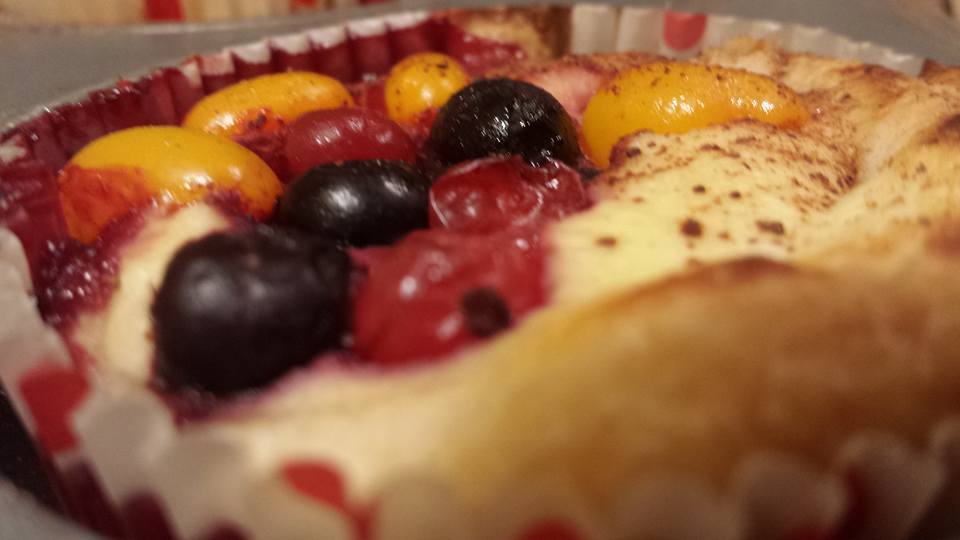
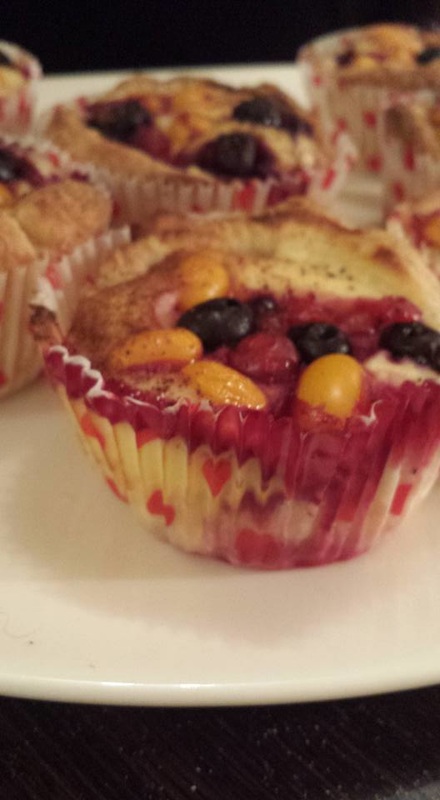
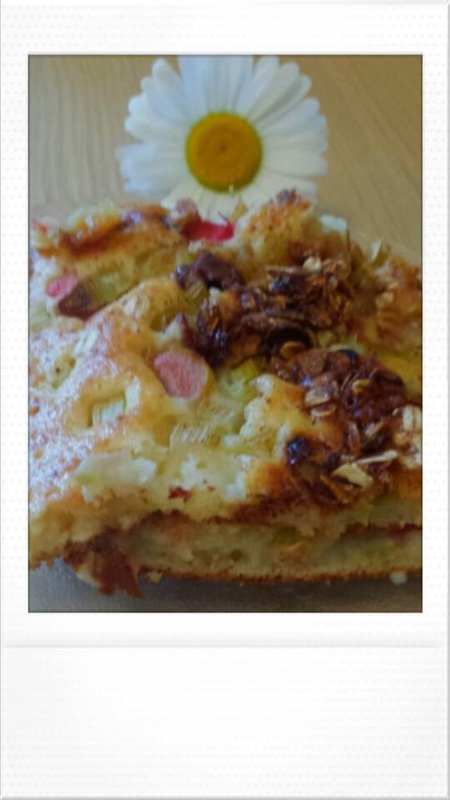
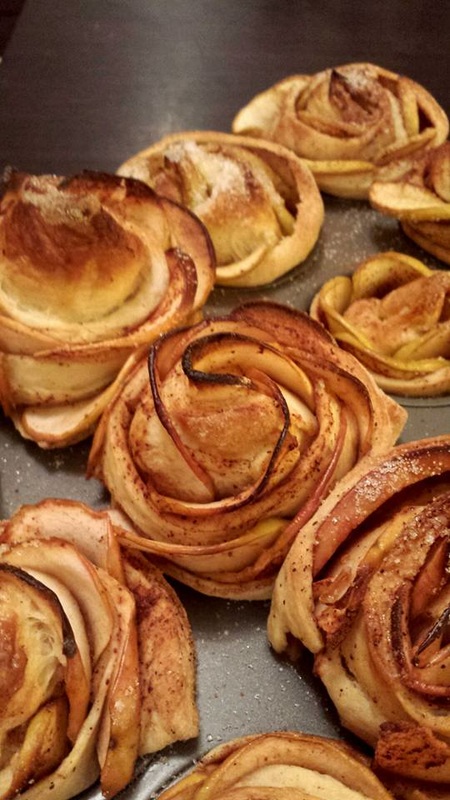
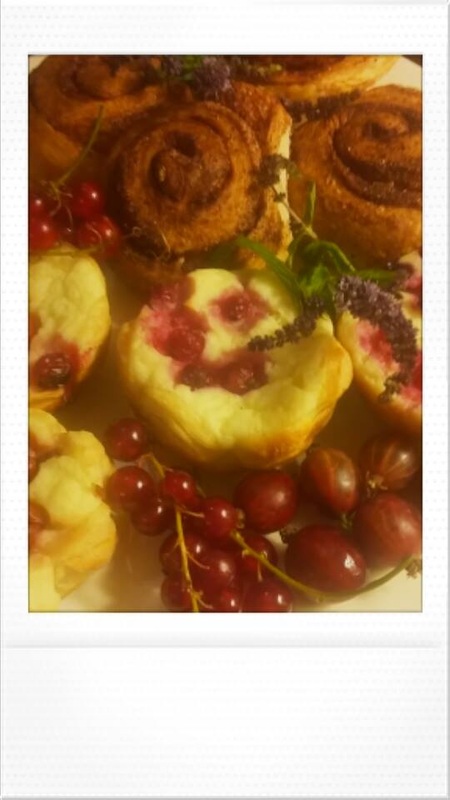
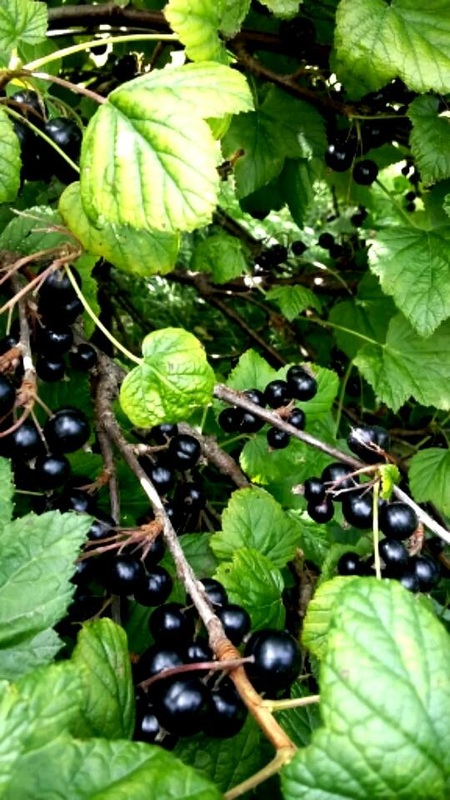
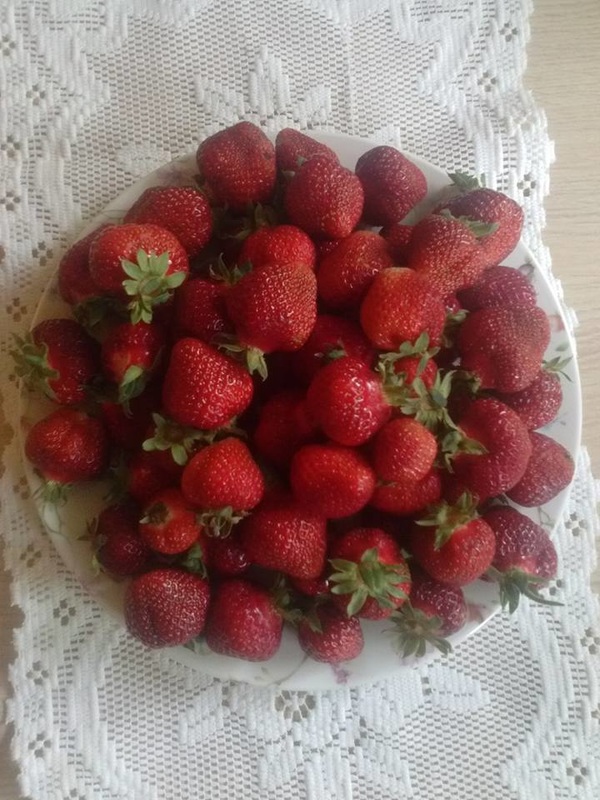
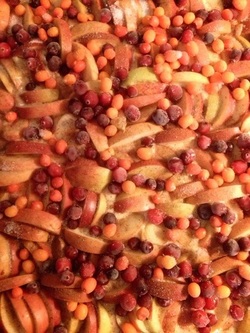
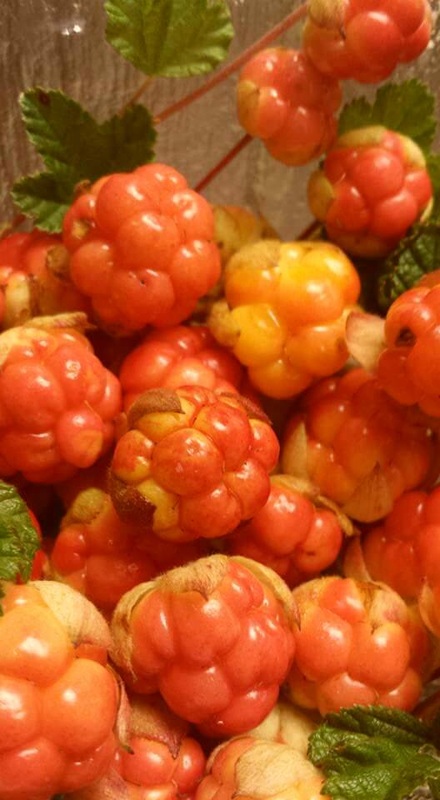
First, I took a sheet of light beige paper (thickness between printer paper and watercolor paper) and turned it horizontally. Now I made a half round as big as I could from the bottom edge. I divided it into 2 halves and used one of them. I turned it into a cone around the pen, glued with a gluestick and attached the pen into it (I used PVA, it can be substituted with Mod Podge). When it was drying, I ripped small pictures from the outer layer of a napkin (I used one with tradional Estonian flower embroidery motifs. If you want to see more beautiful flowers like this, google "Muhu tikand"). Then, I mixed glue and water, put a small picture on the cone and applied some of the mix with a brush. Lightly "paint" the pixture over. Repeat until the cone is covered. Let it dry. Fill the pen with filling. Cut a ball of polyfoam in half (you can also use a rolled napkin). Cover it with small pieces of rolled napkin. Let dry, glue to the cone, add some more pieces to the edge and add a glaze with the mixture of glue and paint. Add a bit of soft pastel dust (I used brown for chocolate) and a few beads. Let dry completely. Now you have an amazingly cute and sweet pen! Note: The original idea came from @manaulidadesaposos, but I changed the glues, cone shape, cone pattern, added decoupage, used a different idea for the topping, added pastels, paint and beads. Tere! Ma ei ole siin näidanudki - see on teine versioon sellesuvisest salaheegeldamisest paksema meriinolõngaga. :) Hi! I haven't shown him here - this is the 2nd version of this summer's MCAL with a thicker merino yarn. You can find more project notes in Ravelry. :) 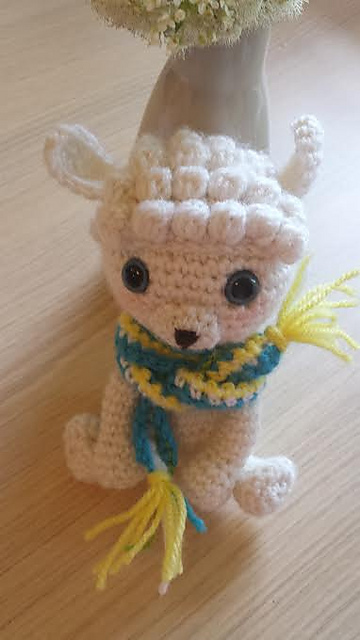 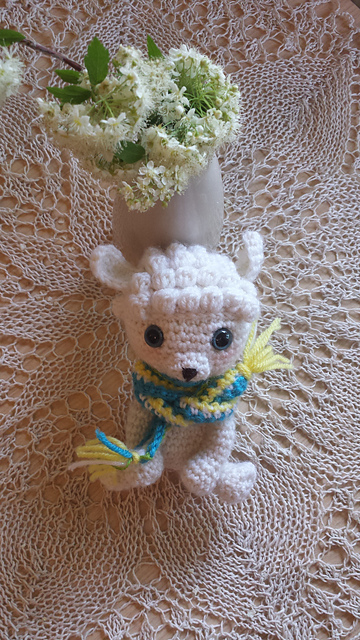 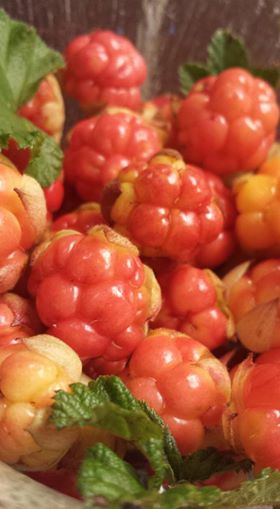 Täna ei tule mingisuguseid kudumeid/heegeldisi, selle asemel päris palju mõnusaid kooke, küpsetisi ja pirukaid. Ikka ise tehtud! Osad juba päris ammu, mõned üsna hiljutised. Kõigepealt siis väikesed kohupiima-marjakoogikesed. Marjad on astelpajud, mustsõstrad ja punased sõstrad.
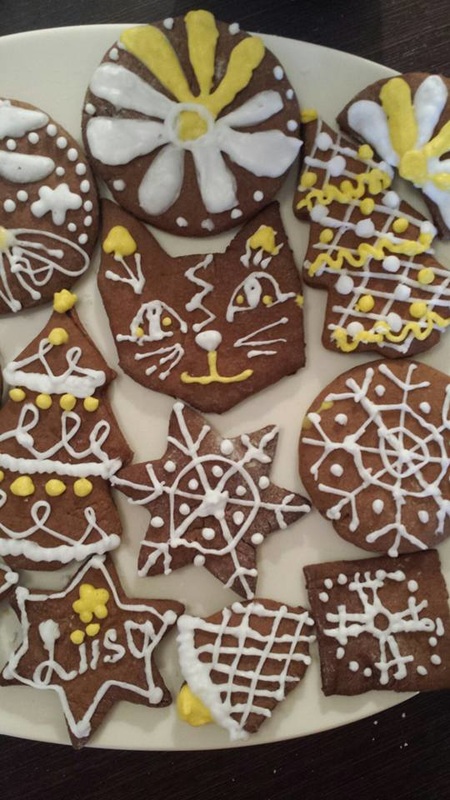
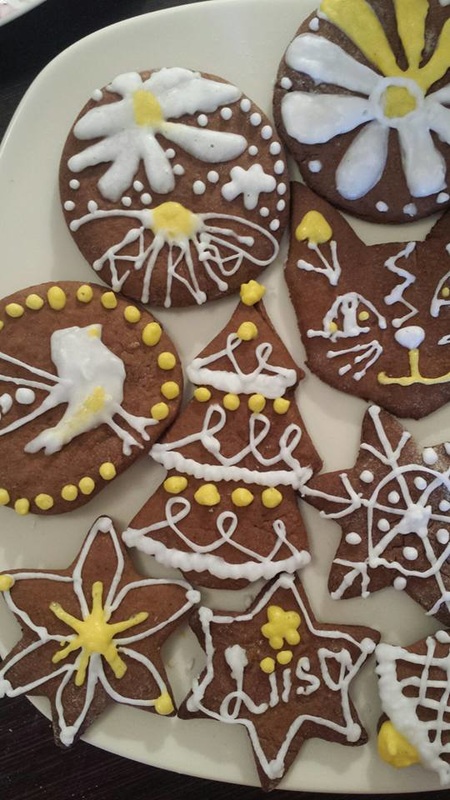
  Maitsvad kaneelirullid ja allpool minu dekoreeritud piparkoogid. Harjutasin eri tehnikaid.
Ilusat suve ja huvitavaid toite! :)
Tere! Jälle natuke joonistamist, üks tüdruk. Inspiratsioon tuli ühest väiksena tehtud joonistusest. :) Hi! Some drawing again. The inspiration came from a drawing I made when I was little. :) 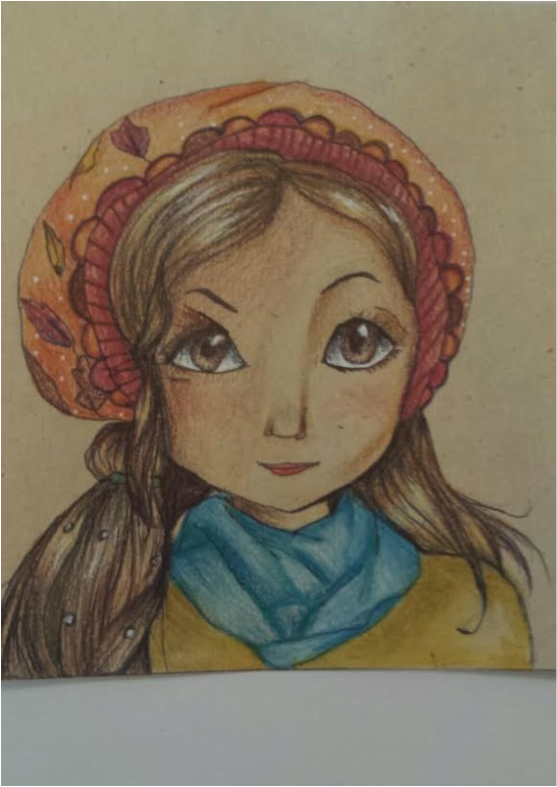
Terekest! Kuidagi kahju on, et enam ei tulegi salaheegeldamise vihjeid postitada... aga eks näis, mida põnevat hakkab edasi saama! :) Igatahes, täna räägin ma uutest projektidest ja ka katsetustest erinevate kunstivahenditega. Käisin kunstipoes ringi ja uurisin eri vahendeid. Mulle hakkasid huvi pakkuma pastellpliiatsid. Mul on neid varemgi olnud, aga need polnud samast firmast mu pastellidega ja ühed olid ka päris kõvad. Nii et otsustasin need ka ära proovida (firma Koh-I-Noor). Minu meelest on need meeldivalt pehmed ja hajusad ja sobivad tõesti hästi detailideks. Praegu mul sellest pilti pole, aga päris huvitav oli proovida neid hästi detailsete silmade joonistamiseks. :) I walked around in an art store and tried different mediums. I was interested in pastel pencils. Of course, I had had them before, bur these weren't the same company as my pastels and ones were pretty rough, too. So, I decided to try the ones from the company Koh-I-Noor. I really liked them, they were soft, blendable and perfect for details. I don't have a photo right now, but it was pretty interesting to use them for detailed eyes. *** Selle pildi valmimiseks kasutasin aga tavalisi värvipliiatseid, musta pastakat ja valget geelpliiatsit. Aluskihtideks olid kaadiumkollane, erkoranž ja helebeež, edasi punakaspruun ning tumebeež, veel edasi tumepruun ja tumesinine ning kõige lõpuks must pastakas. Miskipärast tundub mulle, et see soeng ei jää viimaseks endataoliseks :) For this picture, I used ordinary colored pencils, a black pen and a white gel pen. Base layer: cadium yellow, bright orange, light beige 2nd layer: reddish brown, dark beige 3rd layer: dark brown, dark blue For a finish, I used a black pen. I have a feeling that this might not be the last hairstyle I will draw. :) 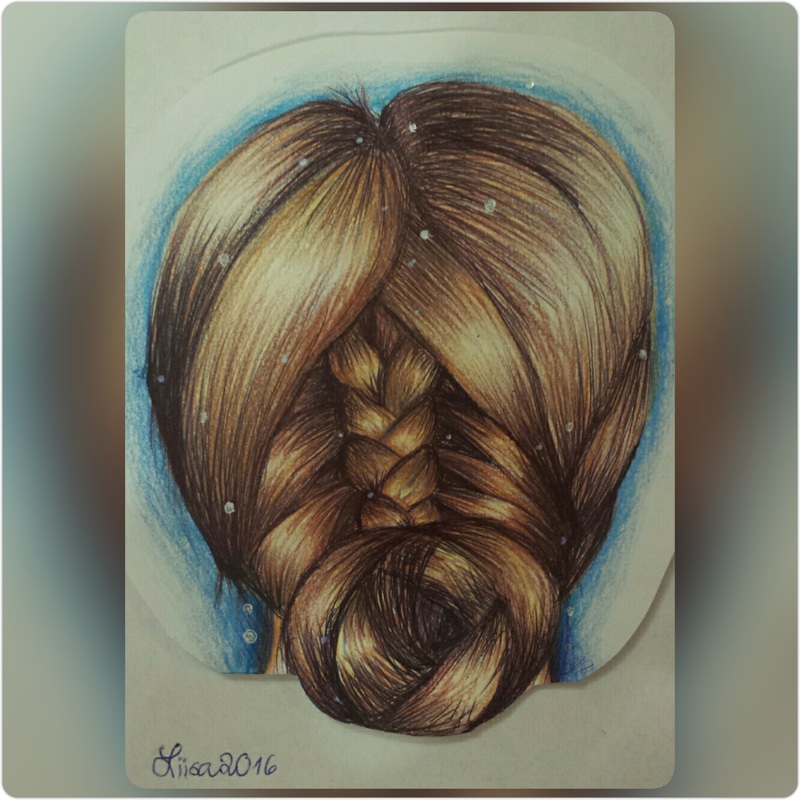 This drawing is made with ordinary colored pencils. Only them :D I decided I'd leave the pencil strokes visible:) 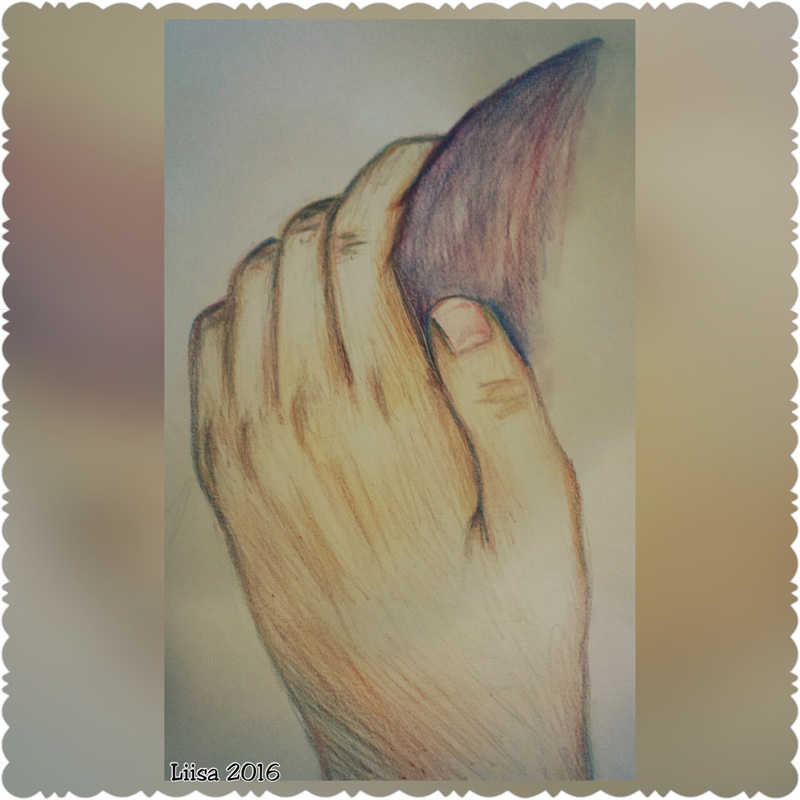 Sel suvel võtan osa Ami-Along 2016 koosheegeldamisest. Esimene amigurumi on siin - Daisy. Mustri autor on Amination. :) 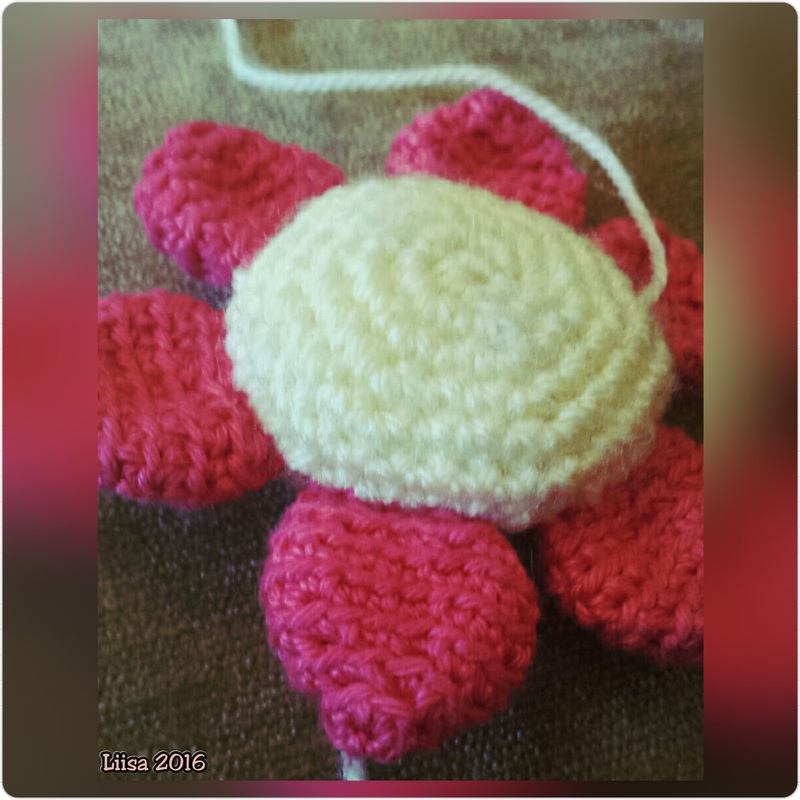 Kena päeva!
Liisa Hi! So, here is the full pattern. Share your version with me and other crocheters too in the Ravelry and Facebook groups (FB: "Amigurumi MCAL 2016 by Kirju kui Liblikas" and Ravelry "Kirju kui Liblikas designs and CALS"). If you have any questions, feel free to ask me. Ravelry project: http://www.ravelry.com/patterns/library/amigurumi-mcal-2016 Friendly Sheep This little critter uses under 50 grams of yarn and it is sure to become your good friend! Skill level – intermediate. You should know the basic amigurumi techniques. This project will also teach you how to create cute bobble stiches. Yarn – You can use any kind of yarn. I used worsted weight merino wool, but any yarn from DK to chunky will do :) Scarf is made of scraps, you can use anything. Hook – pick a hook at least 0.5 or 1 size smaller than written on the label, this way you don’t have holes. :) Eyes – 10,5 – 12 mm Abbreviations: US terms St - stitch Sl st – slip stitch Sc – single crochet Dc – double crochet Dec - decrease Yo – yarn over Bobble stitch – make a dc in the next st but don’t do the last pull through and leave the loop on your hook. Make another dc in the same stitch without the last step and leave the loop on your hook. Make two more almost finished dc’s in the same stitch (you have 5 loops on hook). Now, yo and pull through all 5 loops on your hook. Head (make 1) Amigurumi style crochet (spirally) Round 1: Magic ring and 6 sc into it. (6 sts) Round 2: work 2 sc in every stitch around (12 sts) Round 3 *1 sc in the next stitch, 2sc in next* 6 times (18 sts) Round 4*1 sc in the next 2 stitches, 2sc in next * 6 times (24 sts) Round 5: *1 sc in the next 3 stitches, 2sc in next * 6 times (30 sts) Round 6: *1 sc in the next 4 stitches, 2sc in next * 6 times (36 sts) Round 7: *1 sc in the next 5 stitches, 2sc in next* 6 times (42 sts) Rounds 8-13: sc evenly around. It is optional to do more or less, based on your preference. Round 14: *1 sc in the next 5 stitches, dec* 6 times (36 sts) Round 15: *1 sc in the next 4 stitches, dec* 6 times (30 sts) Round 16: *1 sc in the next 3 stitches, dec* 6 times (24 sts) Round 17: *1 sc in the next 2 stitches, dec* 6 times (18 sts) Fasten off and leave a long tail for sewing. Body (make 1) Round 1: Magic ring and 6 sc into it. (6 sts) Round 2: work 2 sc in every stitch around (12 sts) Round 3: *1 sc in the next stitch, 2sc in next* 6 times (18 sts) Round 4: *1 sc in the next 2 stitches, 2sc in next * 6 times (24 sts) Round 5: *1 sc in the next 3 stitches, 2sc in next * 6 times (30 sts) Round 6: *1 sc in the next 4 stitches, 2sc in next * 6 times (36 sts) Rounds 7-10: Sc evenly around. Round 11: *1 sc in the next 10 sts, dec* 3 times (33 sts) Round 12: Sc evenly around Round 13: *1 sc in the next 9 sts, dec* 3 times (30 sts) Round 14: Sc evenly around Round 15: *1 sc in the next 8 sts, dec* 3 times (27 sts) Round 16: Sc evenly around Round 17: *1 sc in the next st, dec* 9 times, sc 2 (18 sts) Fasten off. Legs (make 2) Round 1: Magic ring and 6sc into it. Round 2: *1 sc in the next st, 3 sc in next* 3 times (12 sts) Round 3: *1 sc in the next 3 sts, 3 sc in next* 3 times (18 sts) Rounds 4-5: Sc evenly around Round 6: dec 9 times (9 sts) Rounds 7-10: Sc evenly around. Fasten off. Nose (make 1) Round 1: Ch 6 (do NOT join) ,1 sc in each of 4 chns back down, 3sc all in the next ch, now in back loops of the chains, 1 sc in the next 4 sts, 3 sc in the 1st ch. Round 2: Sc 1 in every st around. Fasten off. When you are weaving in the ends and you see that the chain is too loose, pull your yarn end through the holes. Now, half of the animal is ready! Be brave! Tail (make 1) Row 1: ch 5 bobble stitch in 4th ch from hook, sc 1 in next st. Fasten off. Scarf Row 1: Ch 71, 1 sc in the 2nd ch from hook and in each ch back down.. Row 2: Ch 1, turn. 1 sc in every st. (70 sts) Do 3 more times of row 2. Fasten off. Ears (make 2) Note: I do not count the ch 1 in the beginning of the row. Round 1: Ch 6, 1 sc in the next 4 sts, 3 sc in the next st, now crochet in the back loops of the chain, 1 sc in the next 4 sts, sl st in the first chain. (11 sc) Round 2: Ch 1, 1 sc in the next 4 sts, 3 sc in the next stitch, 1 sc in the next 4 sts, 3 sc in the next st, 1 sc in the next st, sl st in the first chain. (15 sc) Fasten off Hands (make 2) Round 1: Magic ring and 6 sc into it Round 2: Work 2 sc in every stitch around (12 sts) Rounds 3-4: Sc evenly around Round 5: *1 sc in the next st, dec* 4 times (8 sts) Rounds 6-15: Sc evenly around. Fasten off. You have a hole where you finished crocheting. With the yarn end, do NOT draw yarn through, but use the yarn to sew the hole flat. This way it is easier to sew limbs together. :) Now the last part – the wig! Wig (make 1) Row 1: ch 13, 1 sc in the 2nd ch from hook and in each ch back down. Turn. (12 sc) Row 2: ch 3, *bobble st in the next stitch, 1 sc in the next st* 6 times. Turn. (6 bobbles) Row 3: ch 1, 1 sc in every stitch. Turn. (12 sc) Row 4: ch 3, *bobble st in the next st, 1 sc in the next st* 6 times. Turn. (6 bobbles) Row 5: 1 sl st in the next 2 stitches, ch 1, sc 1 in the next 8 st. Turn. (You didn’t crochet the last 2 stitches). (8 sc) Row 6: ch 3, *bobble st in the next st, 1 sc in the next st* 4 times. Turn. (4 bobbles) Row 7: ch 1, 1 sc in every st. Turn. (8 sc) Row 8: ch 3, *bobble st in the next st, 1 sc in the next st* 4 times, ch 3. Turn. (4 bobbles) Row 9: 1 sl st in the next 2 ch back down, 1 sc in the next 8 st, ch 5. Turn. (10 sc) Row 10: bobble st in the 4th st from the hook, sc, *bobble st in the next st, 1 sc in next st* 5 times, ch 3. Turn. (6 bobbles) Row 11: 1 sl st in the next 2 st, 1 sc in the next 14 st, ch 5. Turn. (14 sc) Row 12: bobble st in the 4th st from hook, sc *bobble st in the next st, 1 sc in next st* 7 times. Turn. (8 bobbles) Row 13: ch 1, 1 sc in every st. (18 sc) Fasten off. You have a really cute bobbly wig. Place it on your critter’s head (the narrower part is meant to be between the ears and the widest part on the back of the head. :) TIP: Use stitch markers or safety pins and attach the pieces before assembling. When sewing on the piece, make sure they are symmetrical. Sewing Sew the legs on the bottom of your animal (in a sitting position). Use your yarn ends and stitch very long stitches from the magic ring to the last row before decreasing and pull tight – this will create the specific shape of our critter’s hoofs! Place the hands on the upper part of the body and sew the tail on the back. Sew the nose on the head, stuff a bit and embroider a cute black nose on it :) Your sheep is finished! Congrats! Blanket: Ch 43. Row 1: 1 dc in every st. Row 2: ch 3, 1 fpdc in the next st, *1 bpdc in the next 2 sts, 1 fpdc in the next 2 sts* 9 times, 1 bpdc in the next 2 st, 1 dc in the next st. Row 3: ch 3, *1 fpdc in the next 2 sts, 1 bpdc in the next 2 st* 10 times. Row 4: ch 3, 1 fpdc in the next st, *1 bpdc in the next 2 sts, 1 fpdc in the next 2 sts* 9 times, 1 bpdc in the next 2 st, 1 dc in the next st. Row 5: ch 3, *1 fpdc in the next 2 sts, 1 bpdc in the next 2 st* 10 times. Row 6: Ch 3, *bobble st, sc* 20 times. Rows 7- 12: 1 dc in every st. Row 13: Ch 3, *bobble st, sc* 20 times. Row 14: ch 3, 1 fpdc in the next st, *1 bpdc in the next 2 sts, 1 fpdc in the next 2 sts* 9 times, 1 bpdc in the next 2 st, 1 dc in the next st. Row 15: ch 3, *1 fpdc in the next 2 sts, 1 bpdc in the next 2 st* 10 times. . Row 16: ch 3, 1 fpdc in the next st, *1 bpdc in the next 2 sts, 1 fpdc in the next 2 sts* 9 times, 1 bpdc in the next 2 st, 1 dc in the next st. Row 17: ch 3, *1 fpdc in the next 2 sts, 1 bpdc in the next 2 st* 10 times. Sleeping bag version Finish row 12. Fasten off and leave a long tail. Fold the piece into half (the fancy part is on the top) and sew the bottom and one side together. I didn't sew the side, as I wanted an open one. .) You may sc over the edge for a very neat look and even add a fancier border. I decided for simplicity. Have a nice day! Liisa 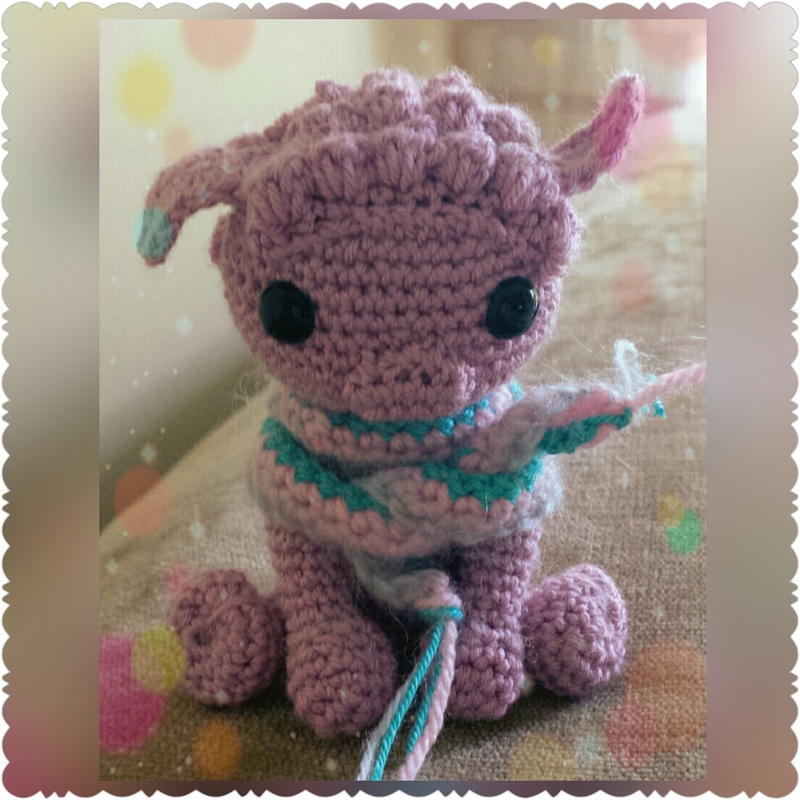  Hi! YAY, the last clue! This CAL was so much fun for me! Thank you all so much! Here is the last clue! The picture of the final animal is in the end of the post! Wig (make 1) Row 1: ch 13, 1 sc in the 2nd ch from hook and in each ch back down. Turn. (12 sc) Row 2: ch 3, *bobble st in the next stitch, 1 sc in the next st* 6 times. Turn. (6 bobbles) Row 3: ch 1, 1 sc in every stitch. Turn. (12 sc) Row 4: ch 3, *bobble st in the next st, 1 sc in the next st* 6 times. Turn. (6 bobbles) Row 5: 1 sl st in the next 2 stitches, ch 1, sc 1 in the next 8 st. Turn. (You didn’t crochet the last 2 stitches). (8 sc) Row 6: ch 3, *bobble st in the next st, 1 sc in the next st* 4 times. Turn. (4 bobbles) Row 7: ch 1, 1 sc in every st. Turn. (8 sc) Row 8: ch 3, *bobble st in the next st, 1 sc in the next st* 4 times, ch 3. Turn. (4 bobbles) Row 9: 1 sl st in the next 2 ch back down, 1 sc in the next 8 st, ch 5. Turn. (10 sc) Row 10: bobble st in the 4th st from the hook, sc, *bobble st in the next st, 1 sc in next st* 5 times, ch 3. Turn. (6 bobbles) Row 11: 1 sl st in the next 2 st, 1 sc in the next 14 st, ch 5. Turn. (14 sc) Row 12: bobble st in the 4th st from hook, sc *bobble st in the next st, 1 sc in next st* 7 times. Turn. (8 bobbles) Row 13: ch 1, 1 sc in every st. (18 sc) Fasten off. You have a really cute bobbly wig. Place it on your critter’s head (the narrower part is meant to be between the ears and the widest part on the back of the head. :) Tail (make 1) Row 1: ch 5 bobble stitch in 4th ch from hook, sc 1 in next st. Fasten off. TIP: Use stitch markers or safety pins and attach the pieces before assembling. When sewing on the piece, make sure they are symmetrical. Sewing Sew the legs on the bottom of your animal (in a sitting position). Use your yarn ends and stitch very long stitches from the magic ring to the last row before decreasing and pull tight – this will create the specific shape of our critter’s hoofs! Place the hands on the upper part of the body and sew the tail on the back. Sew the nose on the head, stuff a bit and if you wish, emboider a cute black nose on it. I didn't do this, but anyone can choose their own ideas :) Your sheep is finished! Congrats! Share your photos with other crocheters too in the Ravelry and Facebook groups (FB: "Amigurumi MCAL 2016 by Kirju kui Liblikas" and Ravelry "Kirju kui Liblikas designs and CALS"). If you have any questions, feel free to ask me. The Ravelry project is http://www.ravelry.com/patterns/library/amigurumi-mcal-2016 . I hope this FB group continues to live it's life even after the CAL! ;) Have a nice day! Liisa  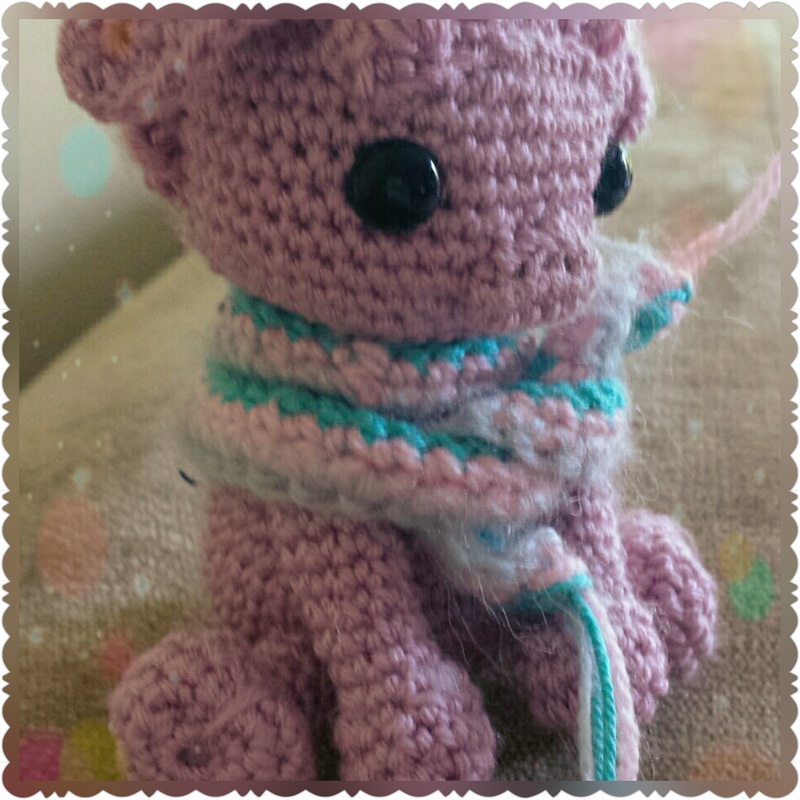 Hi!
Today's clue is a bit earlier than usual... but I hope you enjoy it! The last clue is going to identify the animal, so a bit of waiting left! Share your process photos with other crocheters too in the Ravelry and Facebook groups (FB: "Amigurumi MCAL 2016 by Kirju kui Liblikas" and Ravelry "Kirju kui Liblikas designs and CALS"). If you have any questions, feel free to ask me. The Ravelry project is http://www.ravelry.com/patterns/library/amigurumi-mcal-2016 . Nose (make 1) Round 1: Ch 6 (do NOT join) ,1 sc in each of 4 chns back down, 3sc all in the next ch, now in back loops of the chains, 1 sc in the next 4 sts, 3 sc in the 1st ch. Round 2: Sc 1 in every st around. Fasten off. When you are weaving in the ends and you see that the chain is too loose, pull your yarn end through the holes. Ears (make 2) Note: I do not count the ch 1 in the beginning of the row. Round 1: Ch 6, 1 sc in the next 4 sts, 3 sc in the next st, now crochet in the back loops of the chain, 1 sc in the next 4 sts, sl st in the first chain. (11 sc) Round 2: Ch 1, 1 sc in the next 4 sts, 3 sc in the next stitch, 1 sc in the next 4 sts, 3 sc in the next st, 1 sc in the next st, sl st in the first chain. (15 sc) 'Fasten off. Have a nice day! Liisa
Hi!
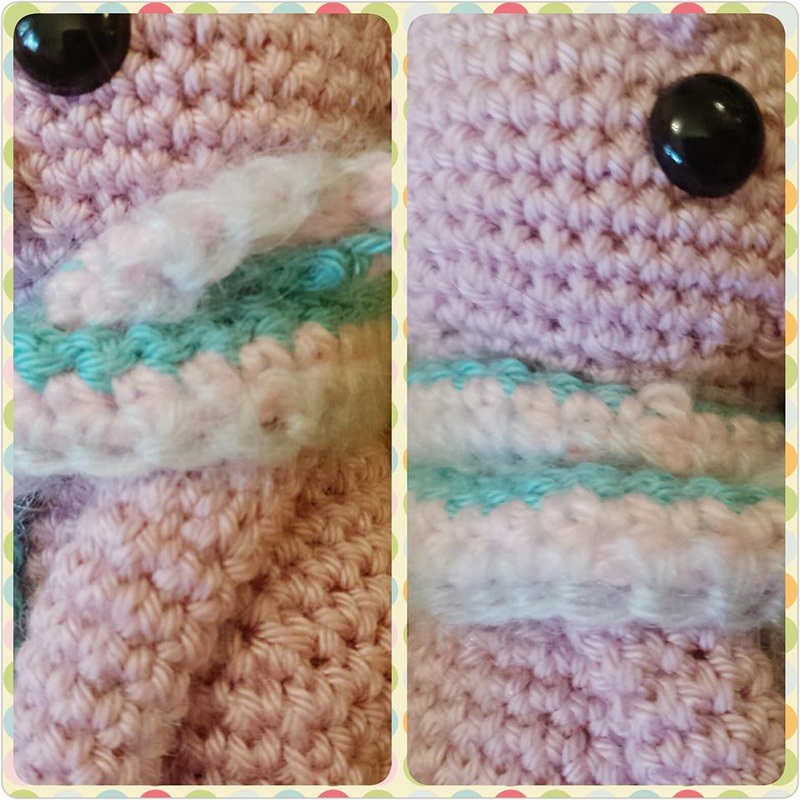
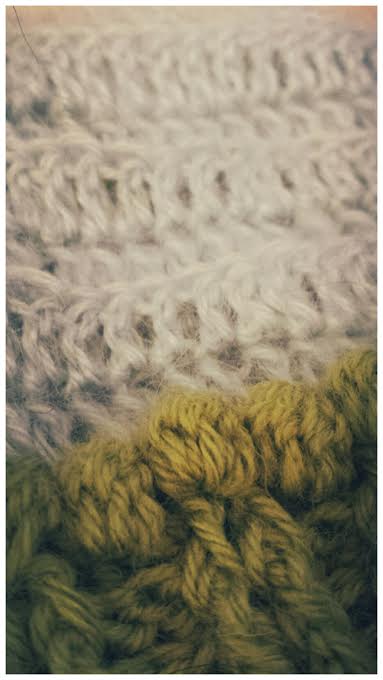
Thank you all for such positive feedback! This is the second clue. It is a bit different, as today we feature a non-amigurumi item. This is a scarf for the animal. It can be made of any yarn, including scraps. This means that you can even use it to represent the colors of yours favorite teams/singers/films to gift to a true fan. Or add some national colors. I made a scarf using just the colors I liked from my stash. The tassels are also completely optional but they are a good alternative when you hate to weave in ends ;) The legs have a different (triangular) shape Happy crocheting! Scarf Row 1: Ch 71, 1 sc in the 2nd ch from hook and in each ch back down.. Row 2: Ch 1, turn. 1 sc in every st. (70 sts) Do 3 more times of row 2. Fasten off. If you wish, add a few more strands of yarn and make tassels (various tutorials are available in YouTube). Legs Round 1: Magic ring and 6sc into it. Round 2: *1 sc in the next st, 3 sc in next* 3 times (12 sts) Round 3: *1 sc in the next 3 sts, 3 sc in next* 3 times (18 sts) Rounds 4-5: Sc evenly around Round 6: dec 9 times (9 sts) Rounds 7-10: Sc evenly around. Fasten off. Share your process photos with other crocheters too in the Ravelry and Facebook groups (FB: "Amigurumi MCAL 2016 by Kirju kui Liblikas" and Ravelry "Kirju kui Liblikas designs and CALS"). If you have any questions, feel free to ask me. The Ravelry project is http://www.ravelry.com/patterns/library/amigurumi-mcal-2016 ETA: There was a mistake in this post. Thanks so much for those who found it, it has now been corrected and it is ok. Hope you understand! Have a nice day! Liisa As many people all over the world have shown interest, I have created a newsletter for you to notify about new updates and information. This doesn't only cover the MCAL, but also other updates on my blog. If you wish, leave your email here (it will not be available to other people!). :) Ükspäev mõtlesin, et võiks järelejäänud tillukese (või siis mitte nii tillukese) meriinolõnga kera ära heegeldada. Proovisin ka fpdc ja bpdc silmuseid, mulle meeldis see tekstuur. No ja siis tahtsin DROPS Alaska lõngaga veel mõne mõnusa puukese ka peale tikkida. Puud tegin täiesti meelega erinevaks, mulle meeldib ka päriselus, kui iga puu on erinev ja omamoodi, mitte udupeenelt pügatud ja tehislik. Pealmine pool on tavaline, peopesa aga eriline :) Kinnastega olen väga rahul! :) 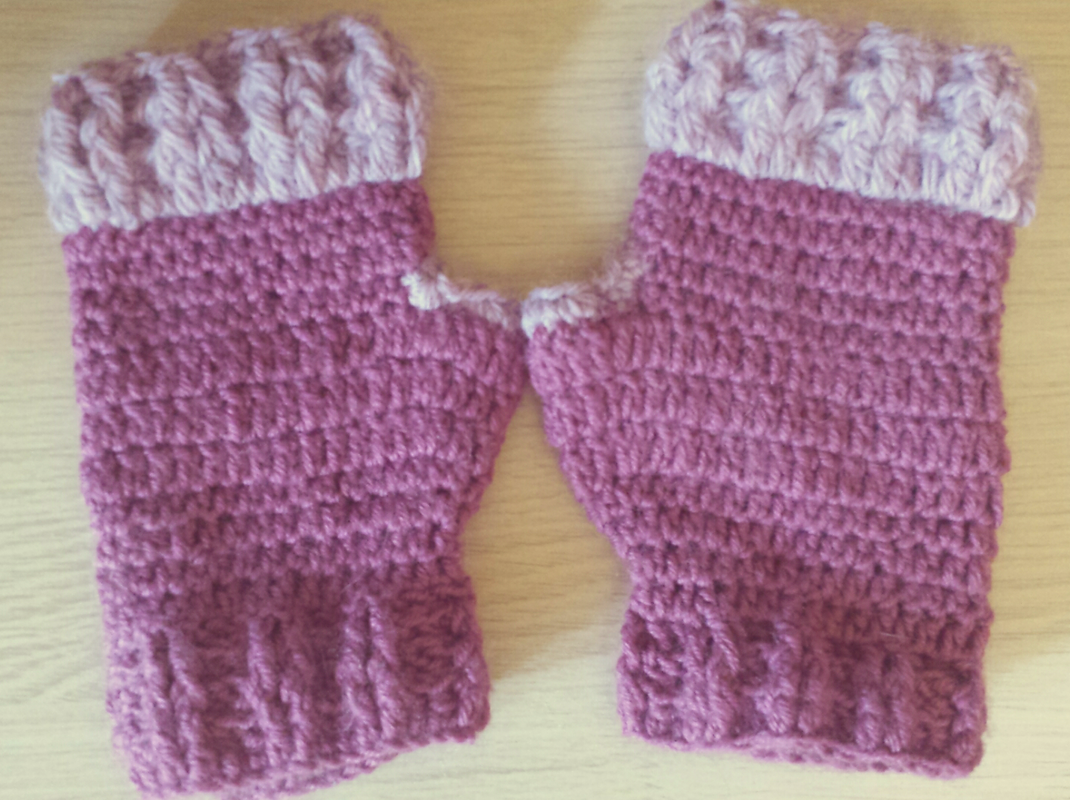 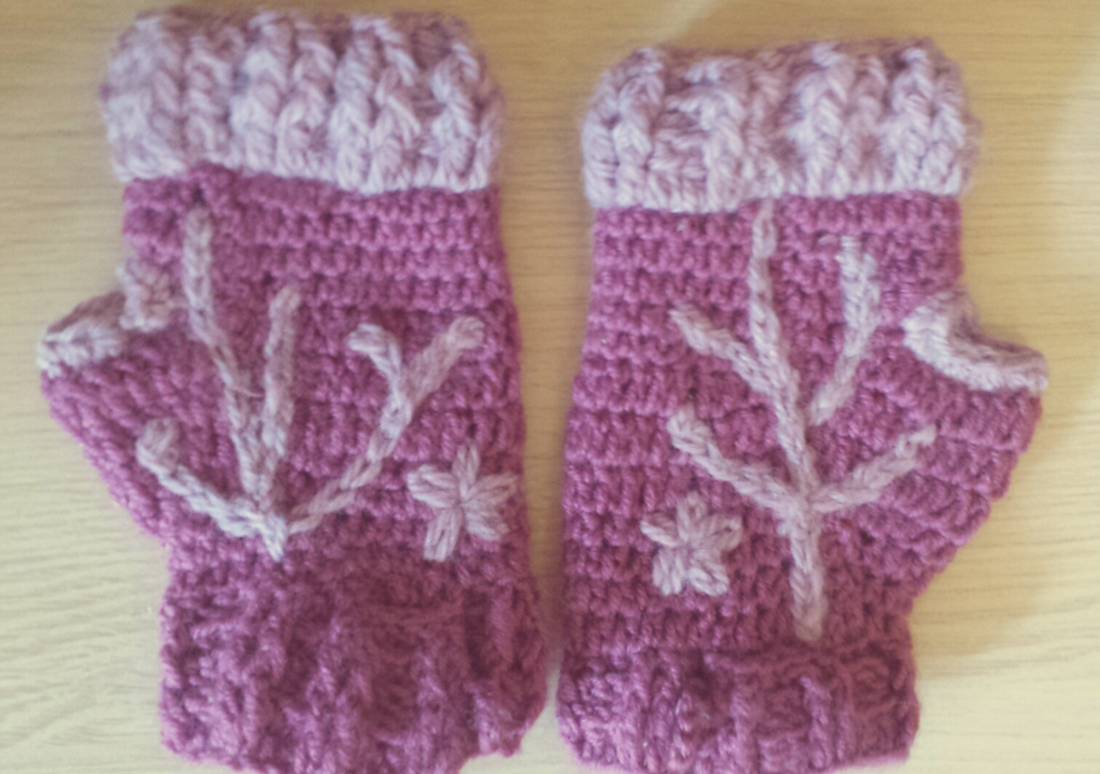 Alaska on väga äge lõng! Mõnusalt villane, aga ka soe ja paks :)
*** One day I thought I should use up a little (or not so little) ball of merino yarn (left from the hat and mittens). I also tried the fpdc and bpdc stitches, I liked the texture. And then I thought it would be fun to embroider a few trees with DROPS Alaska yarn. The trees were made different on purpose. In real life, I don't like very fancily cut trees either, I think trees should be free and natural. The top of the mittens is usual, but the inside is unique. :) I am super happy with the mittens! Alaska is such a good yarn! Nicely woollen, but also soft and thick. :) Ilusat päeva! Have a nice day! Liisa |
Author/AutorI am a 14-year old Estonian girl who loves to crochet, knit, felt and paint, but I also do beadwork and chalk drawings. I have made over 100 knitted/felted/crocheted animals. Besides that, I like history and books.
Welcome! Olen 14-aastane Eesti tüdruk, kes armastab heegeldada, kududa, viltida ja maalida, kuid samal ajal tegelen ma ka pärlitöö ja pastelljoonistamisega. Olen valmistanud üle 100 kootud-vilditud-heegeldatud looma. Lisaks sellele meeldivad mulle ajalugu ja raamatud. Tere tulemast minu blogi vaatama! Archives
July 2017
Kategooriad
All
|


 RSS Feed
